Hey there! As a supplier of submersible aerators, I often get asked about how to clean these little powerhouses. They're crucial in many water treatment systems, helping to increase oxygen levels in water and keep things running smoothly. But over time, they can get dirty, which affects their performance. So, let's dive right into how you can clean a submersible aerator and keep it working like a champ.
Step 1: Safety First!
Before you even think about getting your hands dirty, safety has to be your top priority. First off, make sure to disconnect the aerator from the power source. You don't want any accidental electric shocks while you're cleaning. It might seem like a no - brainer, but you'd be surprised how many people forget this simple step.

Once it's powered off, you need to carefully lift the aerator out of the water. Depending on the size and type of your submersible aerator, you might need a couple of friends to help you with this. You don't want to drop it and risk damaging it.
Step 2: Inspect the Aerator
Once you've got the aerator out of the water, take a good look at it. Check for any visible signs of damage, like cracks in the housing or bent impellers. If you notice any major issues, it might be time to consider replacement parts or even a new aerator. But if it's just dirty, you're in luck and can proceed with the cleaning process.
Look at the intake and outlet ports. These are the areas where most of the debris gets trapped. You might see leaves, mud, or even twigs stuck in there. Understanding what's blocking your aerator will help you decide on the best cleaning method.
Step 3: Remove Loose Debris
Use a soft - bristle brush to gently remove any loose debris from the outside of the aerator. Start from the top and work your way down. Be careful not to scratch the surface of the aerator. You can also use a garden hose to rinse off the larger particles. Just make sure the water pressure isn't too high, or you might damage the delicate parts of the aerator.
For the intake and outlet ports, you can use a small pipe cleaner or a toothbrush to reach into the narrow spaces and dislodge any stubborn debris. Make sure to remove as much of the loose stuff as possible before moving on to the next step.
Step 4: Soak the Aerator
Fill a large bucket with a mild cleaning solution. You can use a mixture of warm water and a small amount of dish soap. Avoid using harsh chemicals, as they can damage the rubber seals and other components of the aerator.
Submerge the aerator in the cleaning solution and let it soak for about 30 minutes to an hour. This will help to loosen any remaining dirt and grime. While it's soaking, you can use a soft cloth to wipe down any areas that are still visible.
Step 5: Scrub and Rinse
After the aerator has soaked, take it out of the bucket and use the soft - bristle brush to gently scrub the entire surface. Pay special attention to the areas that were especially dirty. You might need to use a bit more elbow grease to get rid of the stubborn stains.
Once you've scrubbed the aerator thoroughly, rinse it off with clean water. Make sure to remove all traces of the cleaning solution. You can use the garden hose again for this step, but be gentle.
Step 6: Check the Components
Once the aerator is clean and dry, it's time to check the individual components. Look at the impeller. It should spin freely without any resistance. If it's stuck or doesn't spin smoothly, there might be something still stuck inside. You can try to clean the impeller more thoroughly or, if necessary, replace it.
Check the seals as well. They should be in good condition and free of any cracks or tears. A damaged seal can lead to water leakage and reduce the efficiency of the aerator.
Step 7: Re - install the Aerator
Once you're satisfied that everything is clean and in working order, it's time to re - install the aerator. Carefully lower it back into the water, making sure it's properly positioned. Then, reconnect it to the power source.
Turn on the aerator and listen for any unusual noises. If it sounds like it's running smoothly, then you've done a great job cleaning it.
Why Regular Cleaning Matters
Regularly cleaning your submersible aerator is super important. A dirty aerator has to work harder to do its job, which can lead to increased energy consumption and a shorter lifespan. By keeping it clean, you can ensure that it operates at peak efficiency, saving you money on energy bills and reducing the need for frequent replacements.
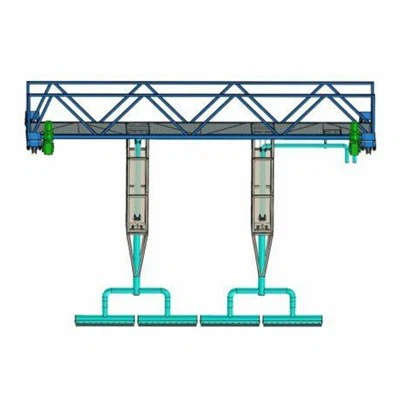
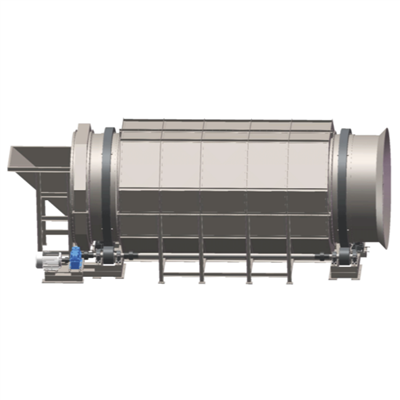
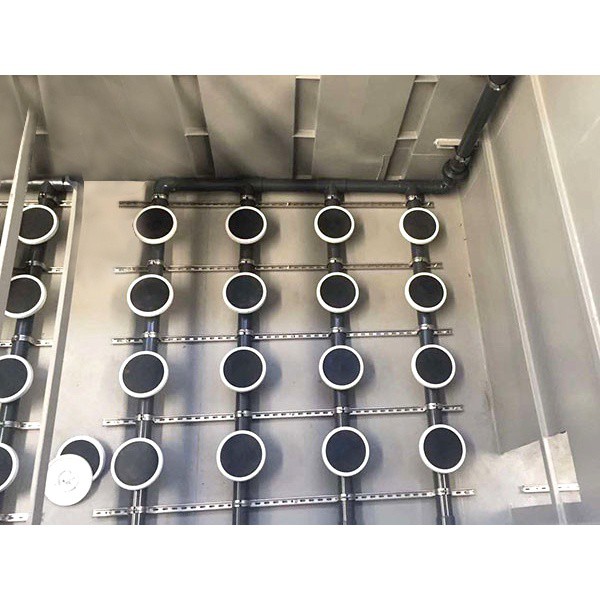
In addition to the submersible aerator, we also offer other great sewage treatment equipment. For example, the Fenton Catalytic Reactor is a powerful tool for breaking down complex organic compounds in wastewater. The Microporous Aeration Disc provides efficient oxygen transfer in water treatment processes. And the Dissolved Air Flotation Equipment is excellent for removing suspended solids from wastewater.
If you're in the market for a submersible aerator or any of our other sewage treatment equipment, don't hesitate to reach out. We're here to help you find the best solutions for your water treatment needs. Whether you're a small - scale operation or a large industrial facility, we've got the products and expertise to support you. Get in touch today, and let's talk about how we can make your water treatment processes more effective and efficient.
References
- "Water Treatment Equipment Maintenance Guide", ABC Publications
- "The Basics of Submersible Aerators", DEF Publishing