Hey there! I'm a supplier of Horizontal Reactors, and I know how frustrating it can be when you've got a leaking one. Today, I'm gonna walk you through the steps to repair a leaking Horizontal Reactor. It's not as daunting as it might seem, and with a bit of know-how, you can get it fixed up in no time!
Step 1: Safety First!
Before you even think about getting your hands dirty, safety has gotta be your top priority. A leaking reactor can release all sorts of harmful chemicals and fumes. So, suit up! Put on the right personal protective equipment (PPE), like gloves, goggles, and a respirator if necessary. Make sure the area around the reactor is well-ventilated. You don't want to end up breathing in any of that nasty stuff.
Once you're all geared up, shut down the reactor and isolate it from the power source. This stops any more product from going in or out and minimizes the risk of an accident. And don't forget to label the control switches with a "Do Not Operate" sign. You don't want someone else coming along and turning it back on by accident!
Step 2: Find the Leak
Now that you're safe and the reactor is off, it's time to track down where the leak is coming from. It could be anywhere - from the seals and gaskets to the pipes and fittings. Walk around the reactor and look for any signs of leakage, like puddles, drips, or discolored areas. You might also notice a hissing sound, which could mean there's a pressure leak.
If the leak is hard to spot with just your eyes, you can use a leak detection fluid. This stuff changes color when it comes into contact with a leak, making it easier to find the problem area. Spray the fluid around the suspected leak points and wait for a few minutes. If there's a leak, the fluid will bubble up or change color.


Step 3: Inspect the Seals and Gaskets
Seals and gaskets are common culprits when it comes to reactor leaks. Over time, they can wear out, get damaged, or lose their flexibility. So, check them closely for any signs of wear and tear, like cracks, cuts, or flattening. If you find any problems, it's time to replace them.
When you're replacing the seals and gaskets, make sure you use the right ones for your reactor. Check the manufacturer's specifications or consult with us at our supply center. Using the wrong seals or gaskets can lead to more leaks or even damage the reactor. Once you've got the right parts, carefully remove the old seals and gaskets and clean the sealing surfaces thoroughly. Then, install the new ones following the manufacturer's instructions.
Step 4: Check the Pipes and Fittings
The pipes and fittings connected to the reactor can also develop leaks. Look for any signs of corrosion, cracks, or loose connections. If you find a corroded pipe, you might need to replace it. Corrosion weakens the pipes and can cause them to burst under pressure.
For loose connections, tighten the fittings using the appropriate tools. But be careful not to over-tighten, as this can damage the threads or the fittings themselves. If you're not sure how to tighten the fittings properly, consult the reactor's manual or give us a shout.
If you come across a damaged pipe, you can either repair it or replace it, depending on the extent of the damage. Minor cracks can sometimes be repaired using a pipe repair kit. These kits usually come with a patch and an adhesive that can seal the crack. However, if the damage is severe, it's better to replace the pipe entirely.
Step 5: Pressure Test the Reactor
Once you've made all the necessary repairs, it's time to test the reactor to make sure the leak is fixed. Before you start the pressure test, double-check that all the connections are tight and all the replaced parts are installed correctly.
Slowly start applying pressure to the reactor, following the manufacturer's recommended pressure limits. Monitor the reactor closely for any signs of leakage. If you notice any new leaks or pressure drops, shut down the test immediately and check the repairs again.
If the pressure test is successful and there are no signs of leakage, congratulations! You've successfully repaired the leaking Horizontal Reactor. But don't just leave it at that. It's a good idea to do some regular maintenance to prevent future leaks. This includes checking the seals, gaskets, and pipes regularly, tightening any loose connections, and replacing worn parts as needed.
Related Equipment Options
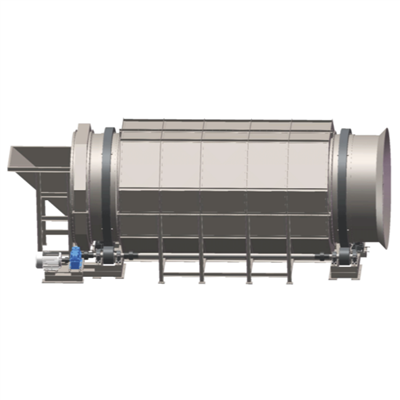
If you're in the paper pulp industry or dealing with similar processes where Horizontal Reactors are used, you might also be interested in some other equipment we offer. For example, we have the Rotating Drum Screen. It's a great tool for separating solids and liquids in your production line. Another useful piece of equipment is the Swing Screen. It's designed to improve the screening efficiency and ensure a more consistent product quality. And if you need to transport materials, our Shaftless Screw Conveyor can do the job efficiently without getting clogged easily.
Contact Us for Procurement
If you're looking to buy a new Horizontal Reactor or any of the related equipment I mentioned above, or if you need more guidance on reactor repair or maintenance, don't hesitate to get in touch. We're here to help you find the best solutions for your operations. Reach out to us to start a procurement discussion and see how we can meet your needs.
References
- Chemical Reactor Handbook
- Manufacturer's Manuals for Horizontal Reactors
- Industry Best Practices for Reactor Maintenance and Repair